Last Updated on February 25, 2024 by Touseef Umair
Are you tired of the same old beige walls and generic decor in your home? Do you long for a burst of color and creativity to breathe new life into your interior? If so, you’re in the right place. In this blog post, we will explore the fascinating world of designing with color and how you can unleash your creativity through painting projects.
Whether you are a seasoned interior designer or a DIY enthusiast, this post will provide inspiration, tips, and techniques to transform your space into an aesthetically pleasing haven that reflects your unique personality. Prepare to embark on a colorful journey with you itching to pick up a paintbrush and unleash your inner artist. Let’s dive in and discover the power of color in interior design.
Table of Contents
Stage One: Preparation
Before diving headfirst into your painting project, preparing adequately is crucial. Preparation ensures a smooth painting process and guarantees beautiful results. Let’s walk through the essential steps to set the stage for your color transformation journey.
Step 1: Assess the Space
Start by studying the room you plan to paint. Consider the amount of natural lighting, the room’s size, the ceiling height, and the color of your furniture. These factors will influence your color choices.
Step 2: Select Your Color
After assessing your space, choose your color palette. Consider a color that complements your furniture and creates the desired atmosphere. You might want a relaxing blue for a bedroom or a vibrant yellow for a kitchen.
Step 3: Gather Your Supplies
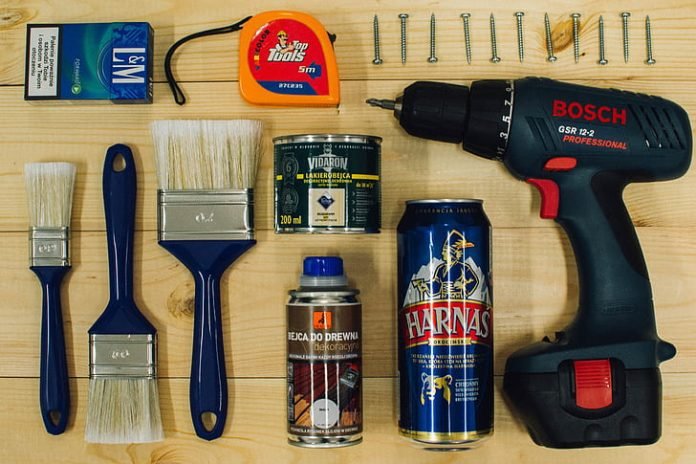
Once you’ve chosen your color, it’s time to gather your painting supplies. This includes paint, brushes, rollers, a paint tray, painter’s tape, drop cloths, and a ladder.
Step 4: Prepare the Room
Clear out furniture, or move it to the center of the room and cover it with a drop cloth. Remove wall hangings, light switch covers, and outlet plates. Use painter’s tape to protect windows, doors, and trim.
Step 5: Prime Your Walls
If you’re drastically changing the wall color or painting over a darker shade, apply a coat of primer to ensure the new color adheres well and looks its best. Let the primer dry completely before proceeding.
Stage Two: Painting Process
Now that you’ve completed the preparation stage, it’s time for the main event – painting! Follow these steps for a flawless finish.
Step 1: Start with Cutting In
Cutting in involves using a brush to paint along edges and corners where rollers can’t reach. Use painter’s tape to create clean, straight lines. Be precise and take your time for a professional look.
Step 2: Roll the Walls
Once you’ve cut in, use a roller to paint the rest of the wall. Start at the top and work down in smooth, even strokes. For best results, slightly overlap each new section with previously painted areas.
Step 3: Apply Multiple Coats
Multiple coats may be needed for full coverage, depending on the color and type of paint you’re using. Allow each coat to dry completely before applying the next.
Step 4: Remove Painter’s Tape
After completely dries your final coat, carefully remove the painter’s tape at a 45-degree angle to avoid peeling off any paint. Touch up any mistakes or uneven lines with a small brush.
Stage Three: Finishing Touches
Congratulations, you’ve successfully painted your walls! Now, let’s add some finishing touches to complete the look.
Step 1: Add Accents
Consider adding accent colors through accessories such as throw pillows, rugs, and artwork. This will tie the room together and add dimension to your color scheme.
Step 2: Incorporate Texture
Don’t be afraid to mix textures, such as a plush rug, against a smooth-painted wall. This adds visual interest and depth to the room.
Step 3: Experiment with Patterns
Patterned wallpaper or stenciling can add a unique touch to your painted walls. This is a great way to incorporate more color and personality into your space.
Step 4: Play with Lighting
Finally, don’t underestimate the impact of lighting on your newly painted walls. Experiment with different types of lighting, such as warm-toned bulbs or statement light fixtures, to enhance the overall look and feel of the room.
Painting Techniques to Choose from
As we’ve walked through the steps of the painting process, you might have noticed that there’s more than one way to apply color to your walls. Your chosen technique can drastically alter the final look, adding depth, texture, and unique visual interest to your space. Let’s explore some popular painting techniques that you might consider for your next project.
Sponging
Sponging involves applying a sea sponge to paint your walls, resulting in a textured, mottled finish. This technique works well with multiple colors and can add a rustic or antique feel to your room.
Stippling
Stippling is a technique where you use a stippling brush to dab paint onto the wall, creating a series of small dots. This method builds visual texture and depth, often creating a sophisticated, rich finish.
Rag Rolling
Rag rolling is a technique in which a rag is rolled up and down the wet-painted wall to create unique patterns and textures. It’s an excellent way to add a dramatic, vintage look to your space.
Strié
Strié, which means ‘striped’ or ‘streaked’ in French, is a painting technique that creates a look similar to fine linen. Paint is applied to a wall and then dragged down using a dry brush or other tool, creating vertical or horizontal lines.
Dry Brushing
Dry brushing is a technique in which a dry brush is used to apply a small amount of paint to a surface, creating a textured, uneven look that can add depth and interest to your walls.
Color Washing
Color washing is a beautiful painting technique that gives walls a subtle layer of texture. It involves applying a thin layer of a different color of paint over a base coat, then partially removing it while still wet to reveal some of the base color.
Final Thoughts
Painting your walls can be a fun and rewarding project, especially when you take the time to plan and execute it properly. You can transform any room into a beautiful and aesthetically pleasing space by assessing your space, selecting the right colors, preparing the room, and using the painting techniques that best suit your style. Contact a painting expert to learn more about different techniques and color options to make your vision a reality.


