


Last Updated on July 19, 2026 by Nasir Hanif
Table of Contents
Introduction
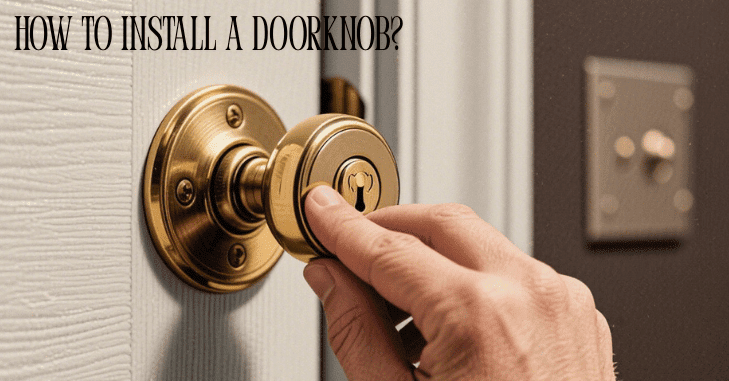
How to install a doorknob? Installing a doorknob may seem like a small task, but it plays a significant role in the functionality, security, and aesthetics of your door. Whether you’re replacing an old knob or installing one on a new door slab, this project is entirely manageable with the right tools and clear guidance.
Understanding each part of the doorknob set, such as the knobs, latch, faceplates, and strike plate, can help make the process smoother and more efficient. Proper installation ensures that your door operates correctly, locks securely, and adds a polished look to your space.
Position the strike plate over this mark, trace its outline, and chisel a shallow recess so it sits flush. Pre-drill holes if needed, then screw the strike plate into place. Once completed, test the doorknob and latch to ensure smooth operation and proper alignment.
| Category | Summary |
| Tools | Screwdrivers, drill, chisel, hammer, measuring tape, pencil, hole saw |
| Steps | Remove old knob → Drill holes → Install latch → Attach knobs → Install strike plate → Test |
| Troubleshooting | Misaligned strike → adjust; Loose screws → tighten; Lock issues → realign or replace latch |
| Pro Tips | Use quality hardware, check door thickness, adjust backset, ensure flush fitting |
How to Install a Doorknob?
How to install a doorknob? Installing a doorknob is a straightforward DIY task that enhances both the function and appearance of a door. To begin, familiarize yourself with all the components in your doorknob set, which typically include an exterior knob, an interior knob (often with a locking mechanism), a latch mechanism, a latch faceplate, a strike plate, and the necessary screws.
If you’re replacing an existing knob, use a screwdriver to remove the screws on the interior side, then pull both knobs out and remove the latch and strike plate. For new door installations, first measure about 36 inches from the bottom of the door to mark the knob’s height. Use a hole saw to drill a 2 1/8-inch hole through the face of the door and a 1-inch hole into the edge for the latch.
Insert the latch mechanism to check the fit, trace around the latch faceplate, and use a chisel to create a mortise so it sits flush. Then, insert the latch into the edge hole with the slanted bolt facing the direction the door closes, and secure the faceplate with screws. Align the exterior knob so its spindle goes through the latch, then fit the interior knob onto the other side, aligning it with the spindle and screw holes.

Tools and Materials You’ll Need
Before you begin, gather the following tools and materials:
- Phillips-head screwdriver or power drill
- Flat-head screwdriver
- Measuring tape
- Pencil
- Chisel (if working with a new door slab)
- Hammer or mallet
- Door knob set (including latch plate, strike plate, screws, and knobs)
- Hole saw kit or spade bits (only for new doors without pre-drilled holes)
- Safety glasses
Understanding the Parts of a Doorknob
Before you begin installing your doorknob, it’s important to familiarize yourself with the various components that come with a standard doorknob set. The exterior knob is the part that will be positioned on the outer side of the door, while the interior knob usually contains the locking mechanism or a turn piece for locking and unlocking the door from the inside.
The latch mechanism is a spring-loaded bolt that extends into the door frame to keep the door closed. Surrounding this latch on the edge of the door is the latch faceplate, a metal plate that helps secure the latch in place. On the door frame, you’ll find the strike plate, which is the metal plate that receives the latch bolt when the door is closed.
Finally, the screws included in the set are used to fasten the knobs, latch faceplate, and strike plate securely to the door and frame. Understanding these components will make the installation process smoother and more intuitive.
Enhancing Functionality and Security with Modern Doorknobs
When installing a doorknob, it’s worth considering not just the basic hardware but also modern features that enhance functionality and security. Many contemporary doorknobs come with built-in smart locks, keyless entry, or reinforced materials that resist tampering. Choosing knobs with ergonomic designs can also improve comfort and ease of use, especially in high-traffic areas.
Additionally, selecting corrosion-resistant finishes ensures that exterior doors maintain both appearance and performance over time, even when exposed to weather. By combining proper installation with thoughtfully chosen doorknob features, you create a door setup that is secure, durable, and user-friendly for years to come.
Step-by-Step Installation Instructions
Step 1: Remove the Old Doorknob
If you’re replacing an existing doorknob, start by using a screwdriver to remove the screws on the interior knob. Once the screws are removed, gently pull both the interior and exterior knobs apart and out of the door.
After the knobs are taken out, proceed to remove the latch mechanism from the edge of the door, followed by the strike plate from the door frame. This will leave the door ready for the installation of the new knob set.
Step 2: Prepare the Door (For New Installations)
If you’re installing a doorknob on a new door slab, begin by measuring 36 inches from the bottom of the door to mark the center point for the knob. Using a hole saw, drill a 2 1/8-inch diameter hole through the face of the door at the marked location. Next, drill a 1-inch hole into the edge of the door where the latch will be installed.
Insert the latch mechanism into this hole to ensure it fits properly, then trace around the faceplate on the edge of the door. Finally, use a chisel to mortise, or carefully carve out, the traced area so that the faceplate sits flush with the door surface.
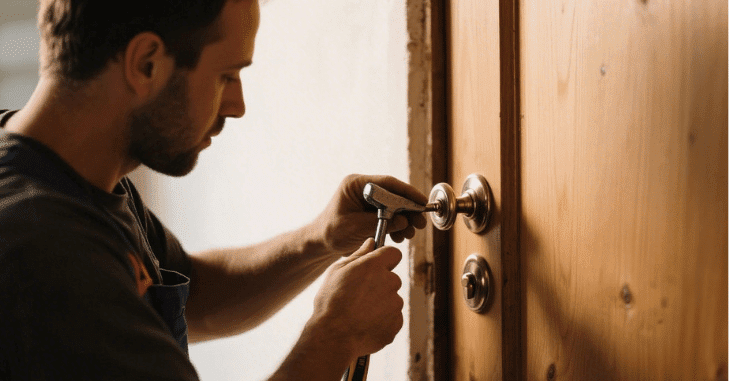
Step 3: Install the Latch Mechanism
Insert the latch into the 1-inch hole on the edge of the door, making sure it fits snugly into place. It’s important to position the latch so that the slanted side of the latch bolt faces the direction in which the door closes, allowing it to engage smoothly with the strike plate. Once properly aligned, secure the latch faceplate to the door using two screws, ensuring it is flush and firmly fastened.
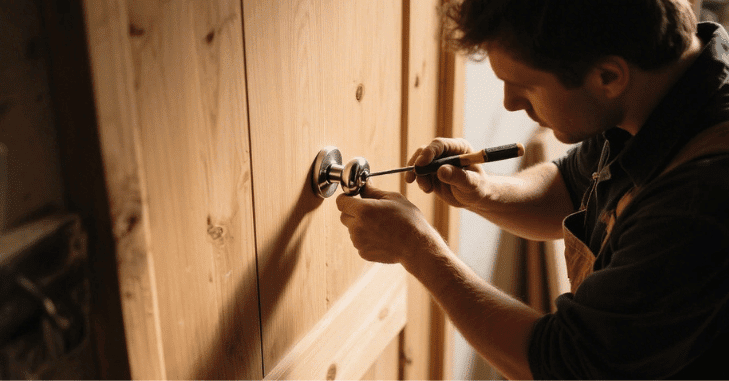
Step 4: Attach the Doorknob
Align the exterior knob so that its spindle fits smoothly through the center of the latch mechanism. Then, position the interior knob on the opposite side of the door, carefully aligning it with the spindle and the screw holes to ensure a proper fit. Once both knobs are in place, insert the screws from the interior side and tighten them securely to hold the entire assembly together.
Step 5: Install the Strike Plate
Close the door to determine exactly where the latch contacts the door frame, and mark that point clearly. Next, align the strike plate over the mark, ensuring it matches the latch position, and trace around its outline on the frame. Using a chisel, carefully carve out a shallow mortise within the traced area so the strike plate will sit flush with the surface. If necessary, pre-drill small pilot holes to make screw installation easier, then secure the strike plate firmly to the door frame using the provided screws.

Testing the Installation
- Close and open the door several times to ensure smooth operation.
- Check that the latch extends and retracts easily.
- Test the lock (if applicable) from both sides.
- Ensure the door fully latches into the strike plate.
Benefits of Proper Doorknob Installation
Installing a doorknob correctly can also improve the overall energy efficiency and privacy of your home. A properly fitted latch and strike plate help ensure that the door closes tightly against the frame, reducing drafts, noise, and unwanted gaps. This is especially important for exterior doors, bedrooms, and home offices where comfort and security matter most.
Taking the time to align all components accurately not only extends the lifespan of the hardware but also creates a smoother user experience, preventing issues such as sticking, rattling, or incomplete latching. Over time, a well-installed doorknob contributes to both the functionality and value of your home by ensuring reliable daily performance.
Troubleshooting Tips
| Problem | Possible Cause | Solution |
| The door won’t latch properly | Misaligned strike plate | Adjust the position or chisel out a new mortise |
| Knobs are loose or wobbly | Screws not fully tightened | Retighten screws on both knobs |
| The lock doesn’t engage | Incorrect knob alignment or broken latch | Reinstall with proper alignment or replace the latch |
| Knob won’t turn | Obstruction in the latch mechanism | Remove and inspect the latch for debris or damage |
Additional Tips for Success
- Choose quality hardware. Inexpensive knobs may be less durable and harder to install.
- Check door thickness: Standard knobs fit 1 3/8″ to 1 3/4″ thick doors.
- Adjust backset: Many latches are adjustable to 2 3/8″ or 2 3/4″—match to your door.
- Use a level: When mortising, ensure all plates sit evenly with the door and frame.
Conclusion
How to install a doorknob? Installing a doorknob is a practical and rewarding project that enhances both the utility and visual appeal of any door. By following each step carefully, from preparing the door and installing the latch mechanism to attaching the knobs and securing the strike plate, you can ensure a professional-looking result without the need for expert help.
Proper alignment and secure fittings are key to long-lasting performance. Remember to test your doorknob after installation for smooth operation and correct locking. With the right tools, a clear understanding of each component, and a bit of care, you can successfully install a doorknob that functions reliably and adds charm to your home.
Want to know about ‘Crafting Culinary Masterpieces: Edinburgh’s Best Bespoke Kitchen Designers‘ Check out our ‘Home Improvement‘ category.
FAQs
Attach the new door latch to the door’s inside edge. The turning lock’s tapered side ought to face the door frame’s striking plate.
In general, the valve is left open and right closed or closed clockwise and opened counterclockwise.
A bore hole is the huge primary hole through which the doorknob mounts.
Any latches, pulls, or locks on your door, as well as the handle itself, should be positioned at least 34 inches off the ground and no higher than 48 inches.


