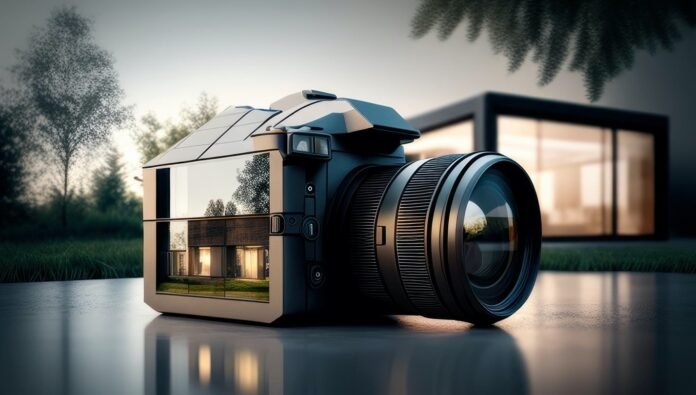
In real estate circles, you’ll hear phrases like “the art of appearance,” “the dollar value of first impressions,” and “exposure is essential.” These phrases underscore the need for high-quality photos in your real estate listing to make it engaging and attractive.
However, the truth extends beyond buzzwordy axioms. Several real estate studies and polls demonstrate that listings with professional photography sell faster and for more money. These professionally shot listings attract more views and generate more motivated buyers, driving up the price and lowering the average number of days spent on the market.
Before you whip out that phone camera to take candid snaps of your for-sale property, take a step back and consider these essential tips.
Table of Contents
The First Step: Partner with Great Real Estate Agents
The first step in taking great photos is to partner with the best real estate agents. Top-tier listing agents, like Harvey Kalles Real Estate, intimately understand the importance of professional photography in netting the highest possible bid. They include professional photography in their list of services, leveraging their vast professional network to rope in top photography talent.
Moreover, great agents help you in the background. They advise on staging, decluttering, and preparing for the photo shoot to ensure that your home’s attention-grabbing qualities come into focus. Once the photos are processed, they ensure that your razzle-dazzle listing meets as many eyeballs as possible.
Setting the Scene: Declutter for a Camera-Ready Shoot
While a professional photographer will oversee that actual shoot, it’s often your job as a home seller to prepare the space. Occasionally, listing agents include decluttering and staging in their services, though not always.
At any rate, prepare for shoot day by decluttering. Ideally, you want surfaces clear of items except for a few choice décor embellishments. Remove anything personal, like photographs, diplomas, refrigerator art, etc. Transport the excess items to a storage facility to make way for the photographer. Alternatively, some home sellers choose to shuffle belongings from room to room, as the photographer shoots each clean room, but this is a very hands-on experience for you as a seller.
Angling for Victory: Shoot Wide Angle, Eye-Height, Level, and Naturally Lit
This wide-ranging tip concerns high-level photography techniques, and is therefore purely illustrative in many cases; if you have a professional photographer coming, they will already know these best practices. However, if you decide to photograph yourself, you will need to employ these strategies with a quality SLR camera.
Start with a good wide-angle lens like the Canon 17-40mm F4L, Canon 24mm Tilt Shift or Nikon 14-24mm. These lenses allow broad, full-light views of interior spaces.
Next, position your shots around eye level by adjusting a tripod to roughly five feet and 8 inches (give or take). Ensure that the camera is level using the tripod’s built-in bubble level. If you haven’t done the research, now is the time to bone up on the basics of interior photography. Finally, choose a time of day that suits your home’s orientation to maximize the amount of natural light in the photos (i.e., west-facing properties should aim for an afternoon shoot).
If you follow these steps—or let your professional photographer work their magic—your photos will look fantastic. All that’s left to do is entrust your expert realtor with turning them into an engaging listing.
Apart from this, if you are interested to know more about Real Estate Licensing then visit our Real Estate category.


